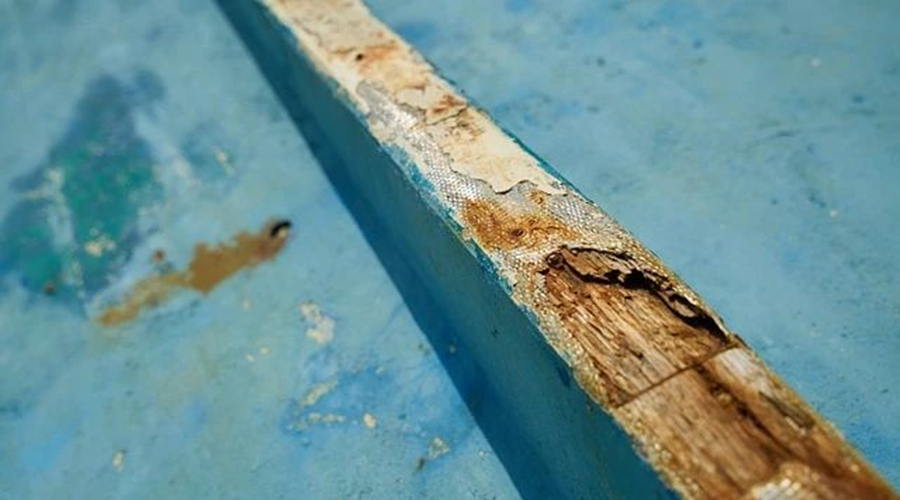
Coatings, plastics and other organic materials exposed to natural weather conditions and solar radiation for a period of time will lose gloss, fade, yellow, flake, crack, lose tensile strength and the entire layer will peel off.
The major reason is that these materials absorb light energy, especially ultraviolet light energy, and then photochemical reactions and auto-oxidation occur, resulting in the change of the chemical composition of the materials. This process is known as photo-oxidative aging or light aging.
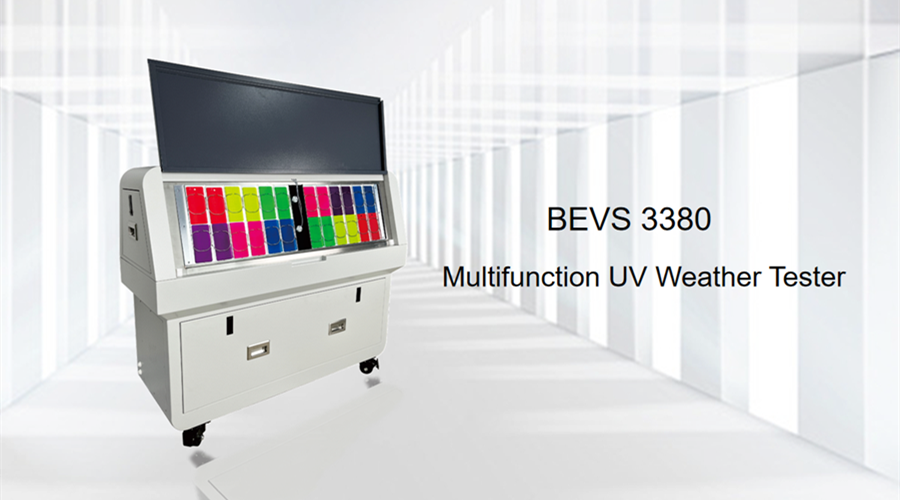
Nowadays, we generally use UV aging testers to evaluate the resistance of materials to UV light.
Almost every user asks these question when doing a test:
* How many hours in a UV aging tester is equivalent to one-year outdoor exposure?
* How can specimen materials be evaluated and graded quickly after completing UV weathering testing?
Advantages and disadvantages of artificial accelerated testing
First of all, let’s take a look at the UV aging test methods. The current commonly used UV aging test methods include outdoor exposure test and laboratory light exposure test, which have distinct differences:
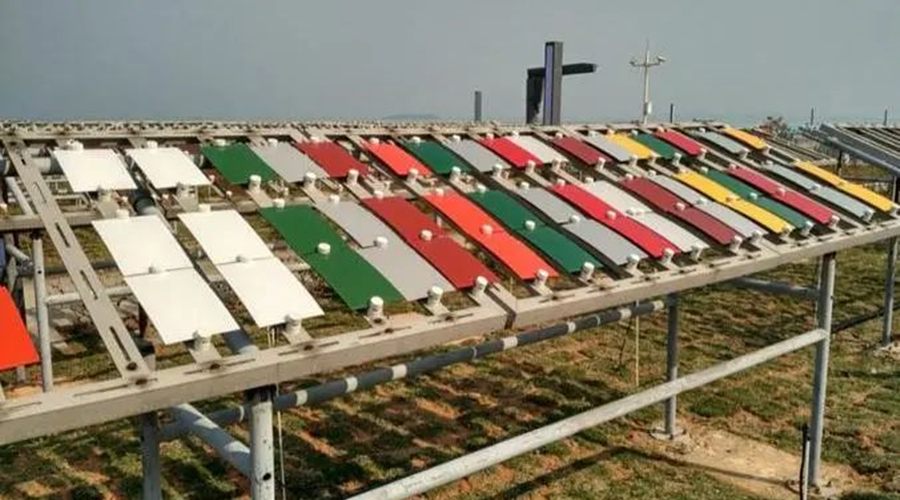
In outdoor exposure test, specimens are exposed to the natural environment and their performance changes are evaluated through long time exposure. The advantage of this method is that it simulates the natural environment in which the materials are used, but the disadvantage is that the test cycle is long and the climate change within the cycle will also affect the test results.
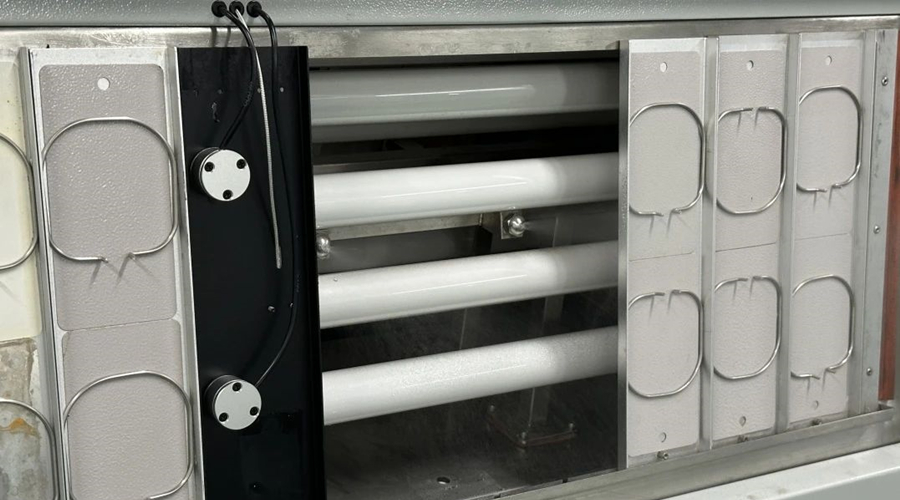
In laboratory light exposure test, tester accelerates the aging process of materials by simulating environmental factors such as UV rays, high temperature, and humidity, so as to quickly assess their weathering performance. The advantage of this method is that the test cycle is short and the results are controllable, but the disadvantage is that it is impossible for laboratory simulation to line up exactly with the natural environment.
In fluorescent UV light source exposure test, although the conditions can be controlled, the tester still can not simulate the exposure conditions of actual use. Besides, considering the characteristics of the product itself and the difference of using environment, there is no standard or organization that can give the conversion relation between the two.
Nonetheless, we can obtain useful weathering data from the tests through multiple trials and design test conditions that correlate well with outdoor exposure tests to help improve the performance of the product.
Notes on preparing specimens
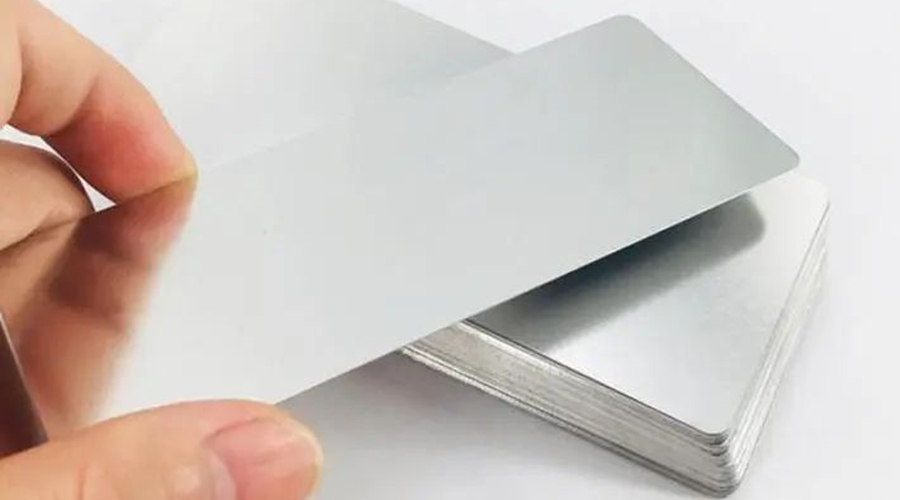
The specimen substrate shall be of materials commonly used in actual situation, such as wood, plasterboard, metal and plastic sheets.
Standard specimen dimensions: 50-150 mm long, 50-75 mm wide, <10 mm thick.
According to standards, UV aging test requires comparison. Generally, it is recommended to prepare 4 pieces of specimens, 3 pieces for testing, 1 piece for comparison.
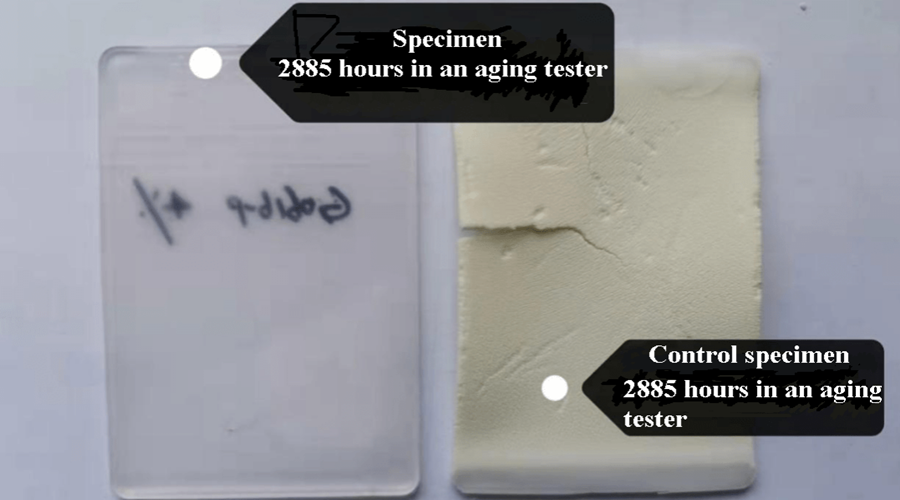
Since there is no commonly recognized standard material for weathering test, the deviation of test results cannot be determined. It is recommended that a control specimen* and specimens be exposed at the same time to provide a standard for comparison.
Three types of evaluation methods
After the UV aging test is completed, the evaluation and grading of the specimens is a systematic process, which is mainly carried out through appearance inspection, physical property test and chemical property test:
Tests of different items, such as color difference, color fastness to wash, gloss, appearance and others, are used to assess the materials’ performance in color change, gloss, cracks, bubbles, catalysis, oxidation, etc. This step is preliminary. It should be checked for pigmentation changes, surface cracking, chalking, etc. through naked eye observation and tools like microscopes.
02 Physical Property Testing
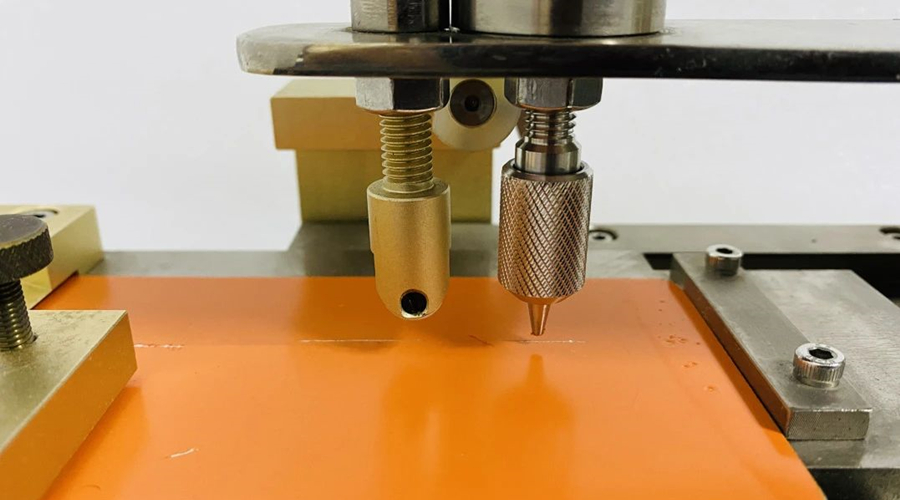
This step involves many test items, such as tensile strength, elongation at break, hardness, impact, cupping, flexibility, abrasion and scratch resistance. The changes are analyzed by comparing the tested specimens with specimens that have not been tested for UV aging to evaluate the weathering performance of the material under UV radiation.
03 Chemical Performance Testing
This step involves chemical resistance tests. Weathering resistance is evaluated by comparing the chemical properties of specimens before and after testing.
First, before exposing the specimen, it is necessary to determine which properties of the specimen need to be tested, such as appearance properties like color, gloss, chalking, cracking, etc., and mechanical properties like tensile strength, elongation at break, and bending strength. Then, test is performed in accordance with the relevant standards or codes. If there are requirements, like destructive testing, you can use the 'Specimen storage'** for performance testing.
Then, after the exposure test, the results of the test are obtained by
1. comparison of performance values before and after specimen exposure;
2. comparison of performance values between exposed and file specimen;
3. comparison of performance values between exposed and control specimen.
Finally, according to the test results, data analysis and statistics are carried out. The differences and regularity are discovered by comparing the test results of different specimens, which can provide reference for further optimization of material design.
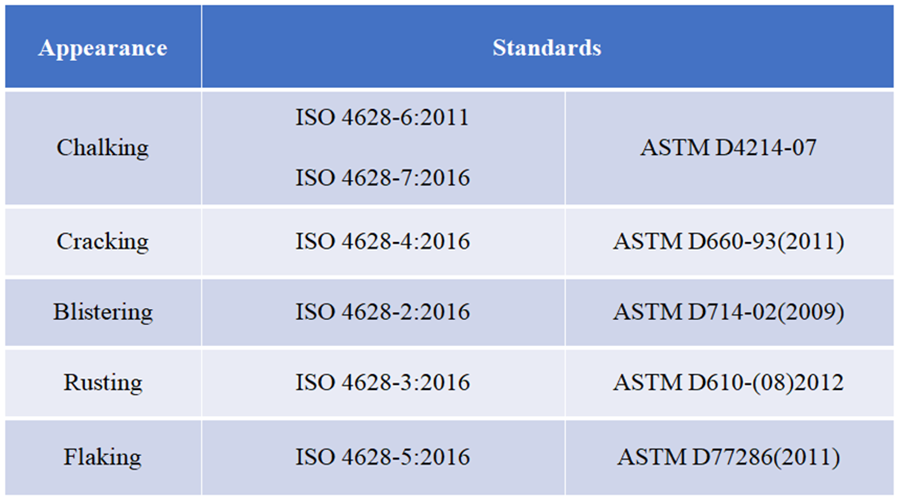
Commonly used criteria for evaluating the appearance of coated parts:
*Control specimen is a material with a composition and structure close to the test material. It is used to compare performance with the test material after simultaneous exposure.
**Specimen storage is portion of the test materials stored under stabilized conditions to compare changes in performance before and after exposure.


