Standard Interpretation / ISO 15184:2020
Pencil hardness--resistance of the surface of a paint film to marking, or the formation of some other defect, as a result of the action of a pencil, with a lead of specified dimensions, shape and hardness, which is pushed across the surface.
Overview
This document specifies a method for determining the film hardness by pushing pencils of known hardness over the film.
Scope of use
On a single coating of a paint, varnish or related product, or on the upperlayer of a multi-coat system
Equipment
● Pencil Hardness Tester(manual / auto)
● Set of wooden drawing pencils
● Special mechanical sharpener
● Abrasive paper
● Soft cloth or swab of cotton wool
【Tech info】
■ The angle between the pencil tip and the horizontal plane is (45 ± 1) °
■ Pencil tip load: (7.35 ± 0.15) N
■ Pencil hardness: 9B-9H (see Figure 3)
■ Special pencil sharpener: This pencil sharpener only removes wood and leaves a complete, undamaged cylindrical pencil lead (see Figure 2)
■ Abrasive paper grit: 400 grit
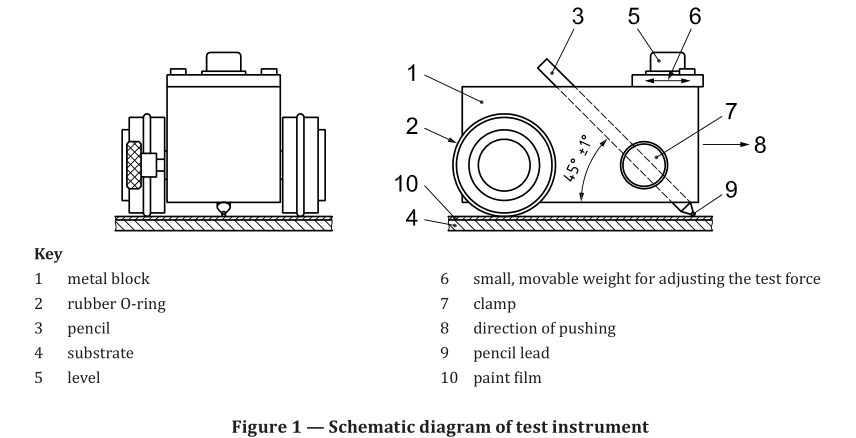


Figure 3 - Pencil hardness
Note: For comparative experiments, it is recommended to use pencils from the same manufacturer. Different production plants and different batches of pencils from the same production plant may cause different results.
Test samples
Take a representative sample of the product to be tested (or of each product in the case of a multi-coat system), as specified in ISO 15528.
Examine and prepare each sample for testing, as specified in ISO 1513.
Test Steps
Step 1: Pencil prepare
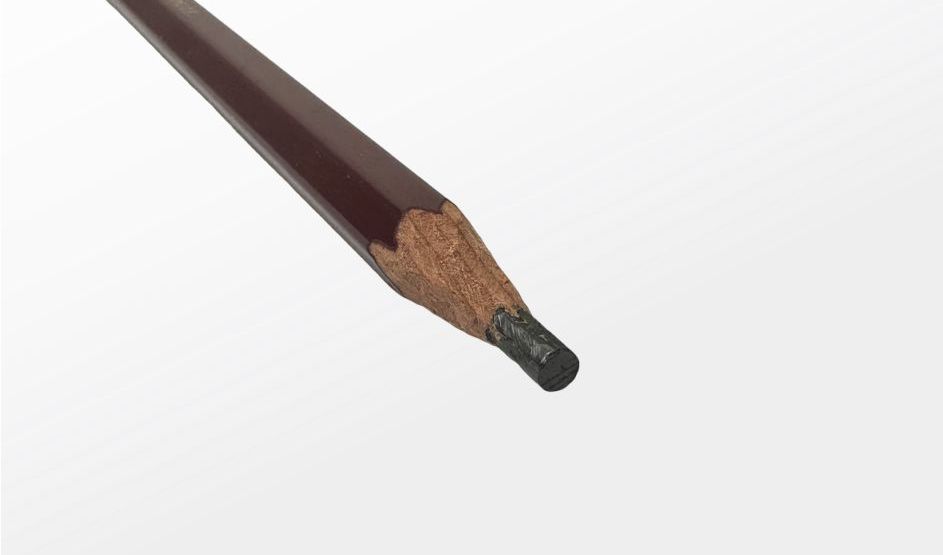
Remove approximately 5 mm to 6 mm of wood from the point of each pencil using the special mechanical sharpener, being careful to leave an undisturbed, unmarked, smooth cylinder of pencil lead.
Flatten the tip of the lead by holding the pencil in a vertical position and moving the pencil back and forth over abrasive paper, maintaining an angle of 90°. Continue until a flat, smooth, circular cross-section is obtained, free from chips or nicks in the edges.
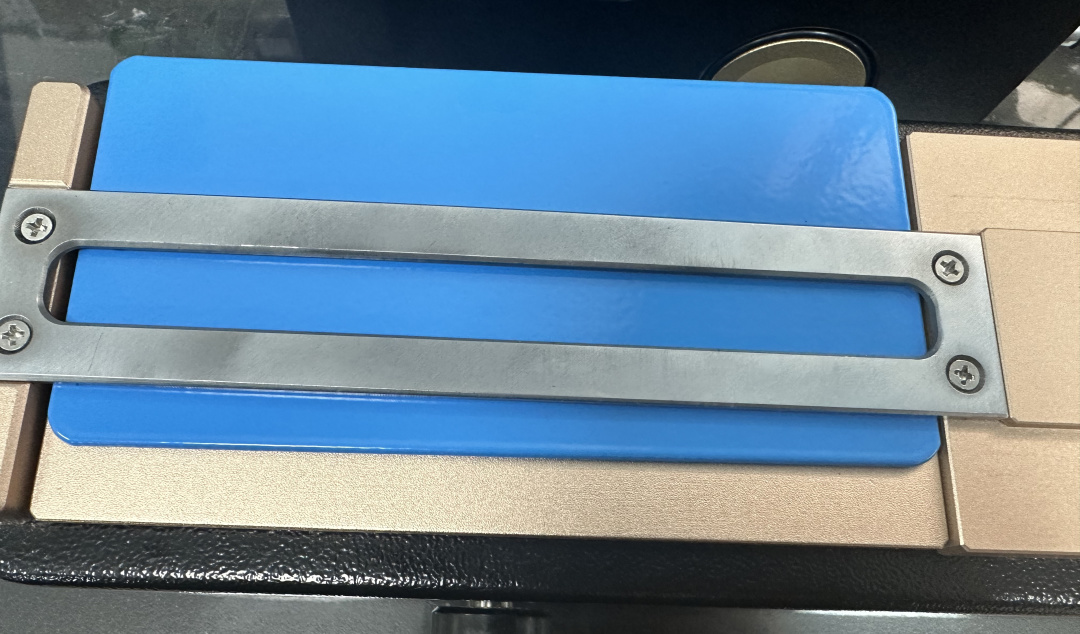
Step 2: Place the test panel on a level and stable surface
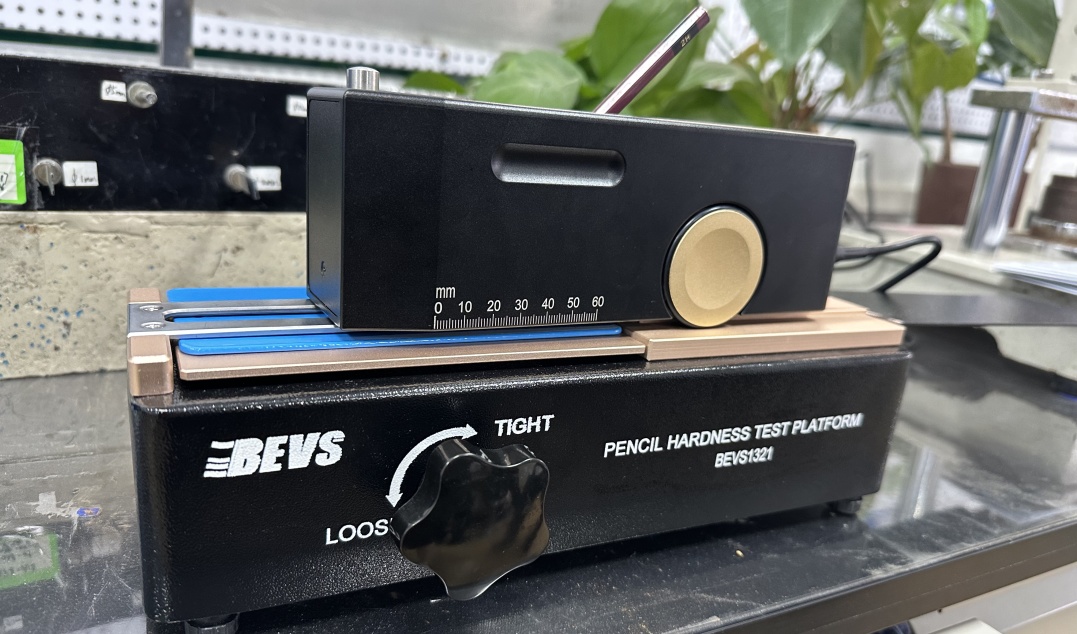
Step 3: Install the pencil hardness tester:
Place the pencil hardness tester on one end of the test panel;
Insert the pencil into the pencil hardness tester, ensuring that the pencil tip is in direct contact with the surface of the paint film.
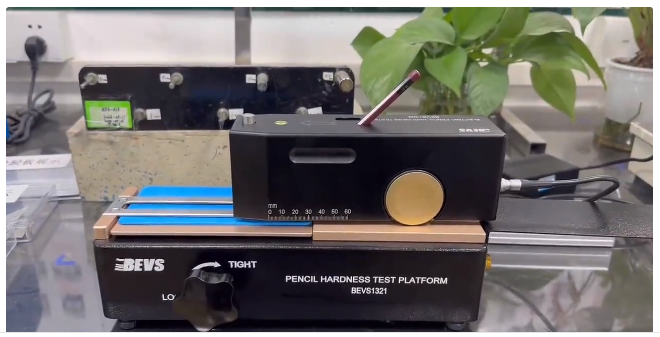
Step 4: Drive the pencil hardness tester
Slowly and evenly push the pencil hardness tester manually or electrically, and stop after pushing a sufficient distance.
Test Results
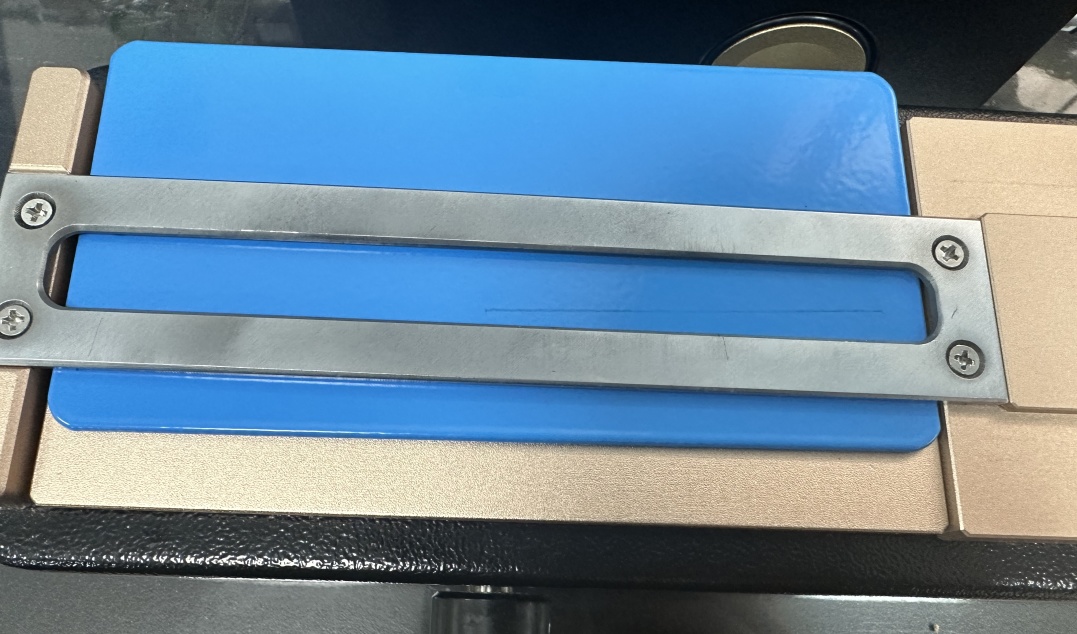
Unless otherwise agreed, inspect the coating after 30 s, using normal corrected vision, for marking of the kind defined in Clause 9.


