T/GDTL 013-2021 Intelligent Method of Determination of Grinding Fineness
1. Fineness of grind
Under the specified test conditions, the reading obtained on the standard grind gauge. This reading indicates the depth of the groove of the gauge, at which the discrete solid particles in the product can be easily distinguished.
2. Intelligent Partial Analyzer
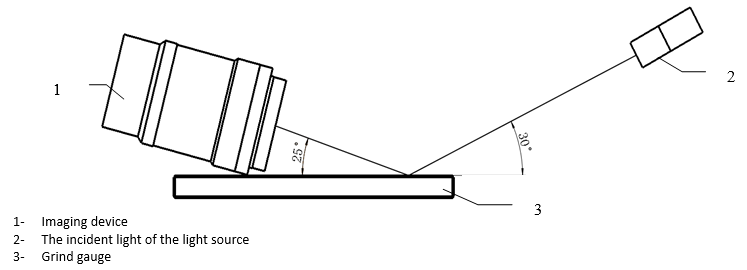
The machine generally consists of a grind gauge, a scraper and draw down device, as well as high-definition imaging equipment, auxiliary light source, automatic fineness calculation system, data storage, and detection result output.

3. Test procedure
3.1 According to the fineness requirements of the tested product of the coating or the preliminary data of the fineness provided by the coating supplier, the appropriate grind gauge specification and the approximate grinding fineness of the tested product can be determined according to Table 1. If there is no fineness requirement or preliminary fineness data for the tested product, a preliminary test should be carried out.
The sample shall be subjected to 3 parallel tests.
3.2 Put the cleaned grind gauge with a certain specification on the level and non-slip surface set by the instrument, and pay attention to the direction of the grind gauge when placing it.
3.3 Enter the analysis conditions required by the automatic fineness calculation system.
3.4 Install the scraper in the scraper holder of the equipment.
3.5 Take a sufficient amount of paint and add it to the deepest part of the groove of the grind gauge. The sample overflows slightly. When adding the sample, be careful not to entrain air in the sample.
3.6 Start the test, and the scraper will automatically scrape the paint at a speed of 90mm/s-100mm/s. If it is printing ink or similar viscous liquid, the scraping speed is less than or equal to 30mm/s, make sure that the groove of the grind gauge is filled with the sample, and the excess sample is scraped off.
4. Expression of results
The result is the average value automatically calculated by the device 3 times test data, and the accuracy is 1µm. And output the fineness particle distribution graph.
Click here to view the full article
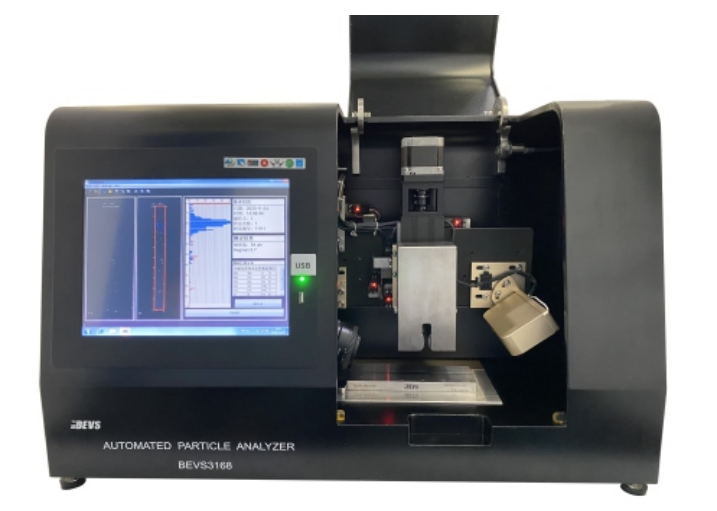
Recommended item for the test: BEVS 3168 Automated Particle Analyzer
T/GDTL 014-2021 Determination of Coating Hardness by Pendulum Damping-Intelligent Method
1. Two Hardness
1.1 König hardness
The damping time for the oscillation amplitude of the König pendulum to decrease from 6°to 3°, expressed in seconds.
1.2 Persoz hardness
The damping time for the oscillation amplitude of the Persoz pendulum to decrease from 12°to 4°, expressed in seconds.
2. Intelligent Pendulum Hardness Tester
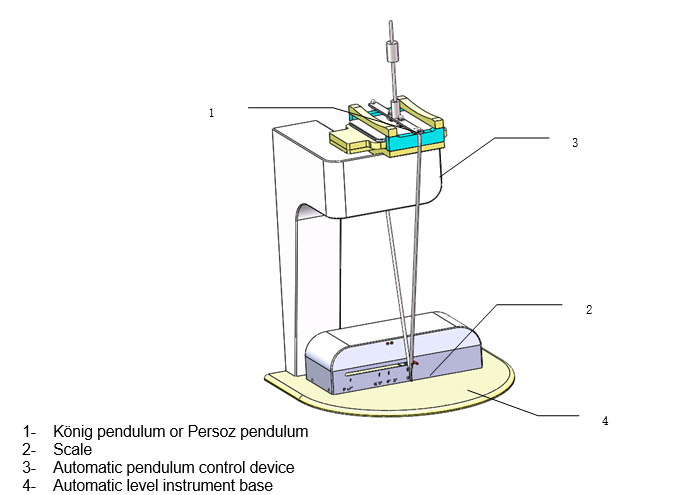
The Intelligent Pendulum Hardness Tester is generally composed of pendulum, scale, automatic pendulum control system, automatic horizontal adjustment instrument base, automatic timer, data storage and other intelligent systems.

3. Procedure
3.1 Calibration of the instruments
3.2 Clean the glass panel by wiping with a soft, lint-free cloth wetted with a suitable solvent. Close the protective cover.
3.3 The instrument is able to check the horizontal state automatically. If the instrument prompts a horizontal warning, the instrument shall be adjusted to the horizontal state.
3.4 Automatically identify that the pendulum type
3.5 Measure the damping duration of the pendulum on the calibration glass plate.
4. Result
Include each test result and the average result of 3 test data calculations, expressed in seconds.
Click here to view the full article
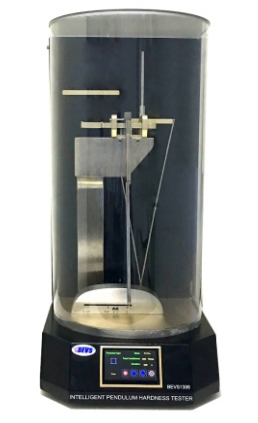
Recommended item for the test: BEVS 1306 Intelligent Pendulum Hardness Tester


