Cupping test is a common mechanical testing method. As is well known, according to the standards of ISO 1520-1999 and GB/T 9753, the thickness of the test plate for cupping test should be between 0.3 and 1.2mm. According to the standard requirements of GB/T 4156-2020, the thickness of the test plate for cupping test should be between 0.1~2.0mm.
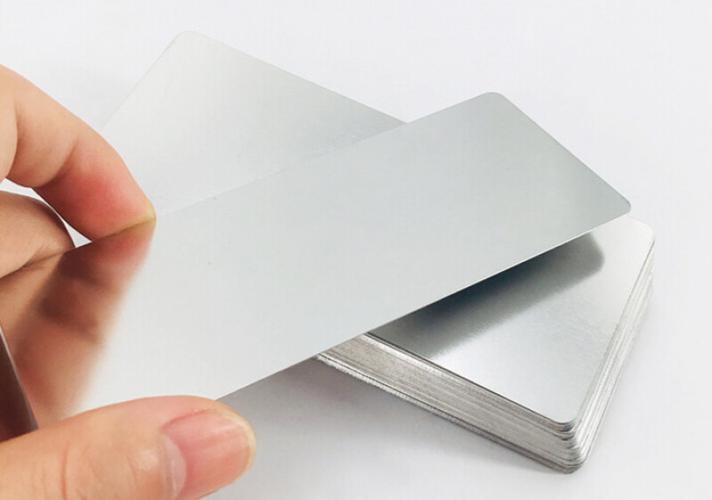

So, when thin materials with a thickness less than 0.1mm need to be tested for their ability to withstand plastic deformation during drawing, can the cupping test be chosen? How can we obtain experimental results with high accuracy and good reproducibility?
Recently, BEVS conducted a cupping test on ultra-thin tin foil in the BEVS laboratory to verify the above issues for our customers.
BEVS has compiled the content and related data of this experiment and welcome everyone to correct and exchange ideas.
Item
2024 BEVS
BEVS 1606
Automatic Cupping Tester
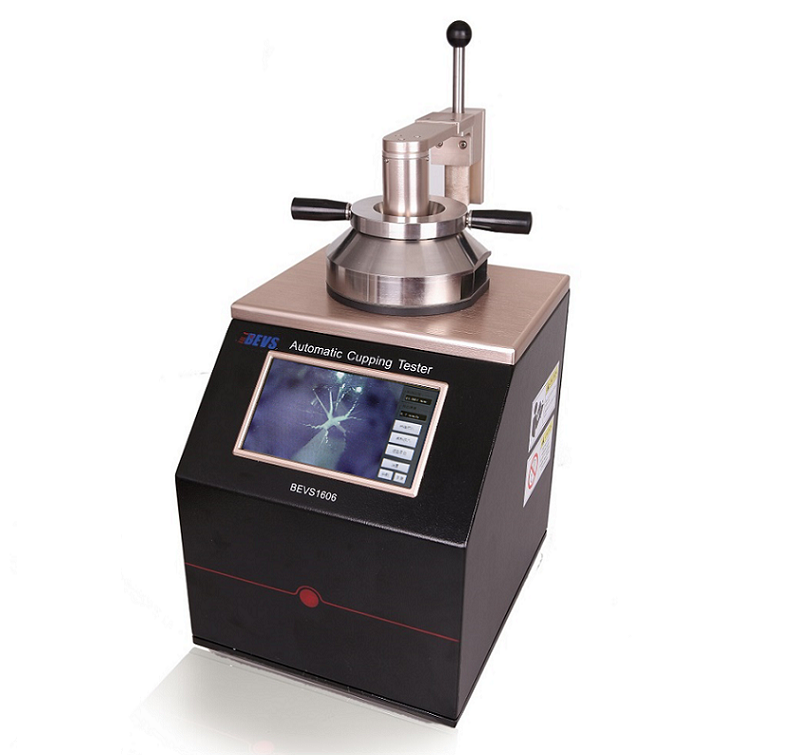
Technical parameters:
Control mode: fully automatic
Cupping stroke: 0-15mm, ± 0.01mm
Cupping speed: 0.02-0.4mm/s, ± 0.5mm
Digital display accuracy: 0.001mm
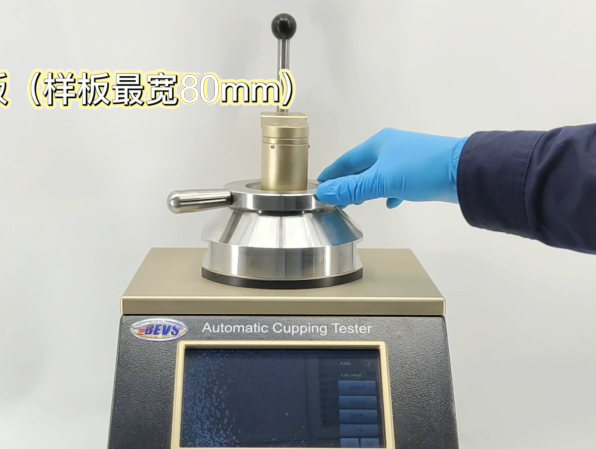
Maximum width of the test panel: 80mm
Other functions: taking photos and videos
Panel
2024 BEVS
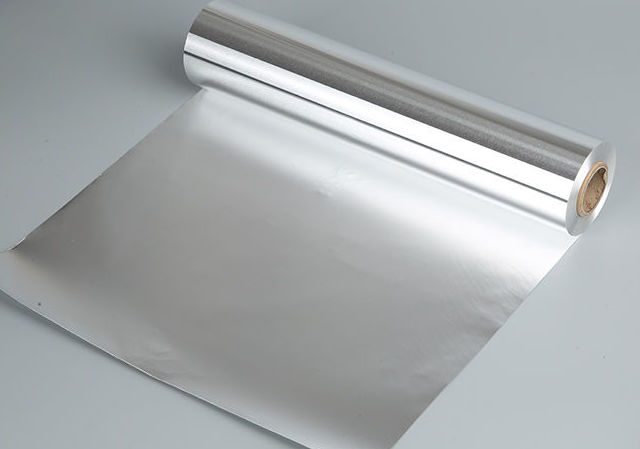
Substrate: Tin foil paper
Coating: Optoelectronic materials
Size: 70 x 150mm
Thickness: 0.03mm
TEST
2024 BEVS
01
The experiment was conducted within the temperature range of 10 ℃ to 35 ℃.
02
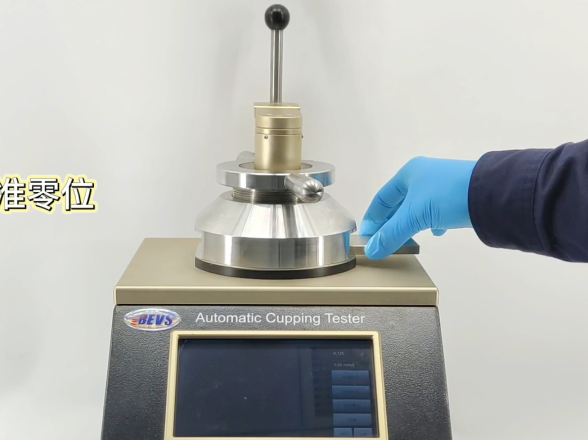
Insert the calibration panel, automatically calibrate the zero position, and remove the calibration panel.
03
Place the coated side of the test panel facing upwards, rotate the handle, and lock it.
04
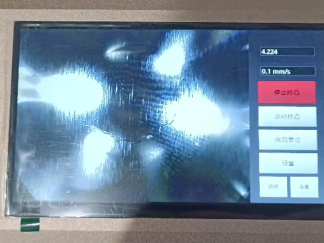
Click on "Standard Cupping", select "Quick Cupping", set the cupping speed to 0.1mm/s, and start the experiment.
05
On the display screen, it can be clearly observed that the stroke value is 4.224 when a transparent crack appears on the surface of the tin foil paper for the first time.

06
Rotate the handle and remove the test panel.
07
Couclusion
2024 BEVS
Excluding calibration errors, punch wear, and lubricant factors, the cup protrusion value is mainly affected by the rising speed of the punch and the clamping force.
The thickness of the test plate used in this cupping test is only 0.03mm, which is 1/10 of the thickness of the ordinary test plate (0.3mm). It is prone to deformation in a short period of time under external forces. Therefore, it is necessary to lower the cup protrusion speed to 0.1mm/s in order to accurately read the cup protrusion value.
In addition, the magnitude of the clamping force can affect the cupping value, and as the clamping force increases, the cupping value gradually decreases. When locking the test plate, rotate the handle to the position where the test plate is just fixed, ensuring that the compression force of the mold and cushion mold on the sample is uniform and consistent each time.
By paying attention to the above points, the accuracy of the measurement and the reliability of the measurement results can be improved.


